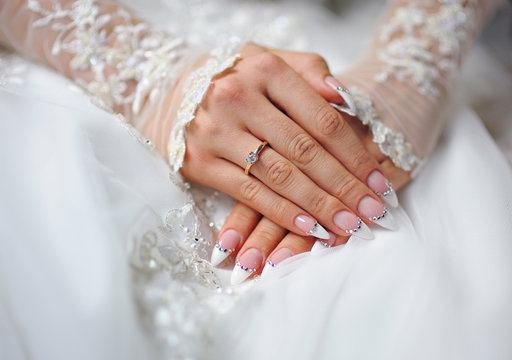
From the ring exchange to the bouquet toss to every clinking glass toast, your hands will be in more photographs than almost any other part of you. A beautifully considered wedding manicure is the finishing touch that ties your entire bridal look together—and when you adore your nails on the big day, they help you feel like the very best version of yourself.
“Your nails will be in a lot of close‑up photos—the rings, the bouquet, the champagne toast—so they should feel timeless and authentically you,” explains Bio Sculpture manicurist Faye Louise Dennis. A flawless manicure ensures every one of those intimate, spotlighted moments looks as elegant as the rest of your bridal vision.
Choosing the Perfect Bridal Manicure for Your Style
The most important rule, echoed by celebrity manicurist Tinu Bello, is to choose a manicure that genuinely feels like you—regardless of trends.
- No‑Mani Mani (Sheer & Glass Finishes)
The defining bridal trend of 2026 is restraint. Soft blushes, milky nudes, and translucent washes create the “your nails but better” effect. Celebrity manicurist Alexandra Jachno notes these finishes “photograph beautifully and don’t compete with the ring” while a high‑gloss top coat delivers a glassy, polished shine.
- Modern French Manicures
The classic French remains an eternal bridal favourite, but 2026 is rewriting the formula. Betina Goldstein coined the term “micro‑French”—an ultra‑thin white line at the tip that reads as delicate and modern. Variations include ombré, chrome‑tipped, and pearl‑accented French styles.
- Pearl, Chrome & Embellished Accents
Pearl‑effect manicures double as jewellery, offering subtle luxury that complements wedding bands and engagement rings. A single pearl or crystal near the cuticle keeps the look sophisticated rather than overwhelming. Velvet cat‑eye and glass chrome finishes in champagne, blush, and milky ivory are also rising in popularity for their gentle dimensional light.
- Nude & Blush Tones
Sheer pink and blush shades are timeless, universally flattering, and very forgiving for at‑home application. Choosing a nude one or two shades lighter than your natural skin tone tends to give the most refined, elegant result.
- Short, Practical Shapes
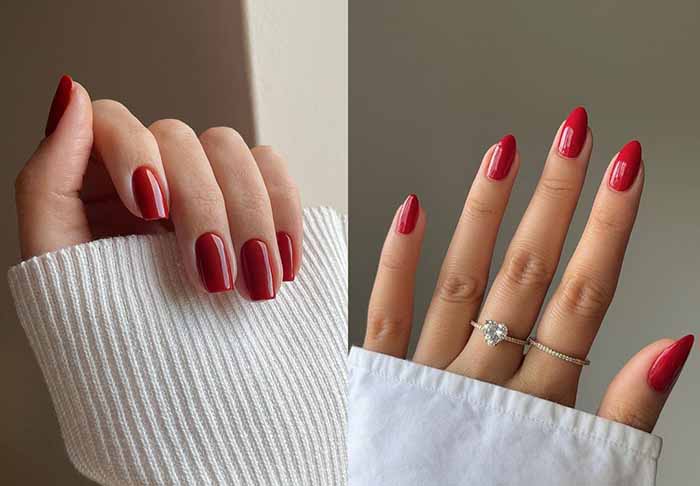
Soft almond, oval, and squoval shapes are both elegant and functional, and they make your polish last longer by eliminating sharp corners that chip easily. Avoid sharp square nails, as they are impractical and prone to catching.
How to Strengthen Your Nails Before the Wedding?
Start your nail care routine early—ideally four to six weeks before the big day.
- Hydrate & Condition Daily
Apply cuticle oil every day to soften cuticles and improve circulation to the nail bed. This simple step is the most effective thing you can do to strengthen nails.
- Use a Strengthening Treatment
Products containing keratin and biotin actively build nail strength. Formulated two‑step serum and oil systems restore moisture and flexibility to dry, brittle nails.
- Eat for Your Nails
A balanced diet rich in biotin (eggs, nuts, seeds), protein, vitamins A, C, and D, and minerals such as zinc and iron is essential for healthy growth. Avoid harsh nail care products, including acrylics and gels that can damage the natural nail plate if applied poorly.
- Protect from Damage
Avoid using your nails as tools, wear gloves during household chores, and give your nails breaks from constant polish coverage. If you currently wear gel or acrylics, remove them gently and never peel them off.
How to Do Your Own Wedding Manicure at Home?
Doing your own nails for your wedding is entirely achievable with the right tools and a little practice.
What You’ll Need
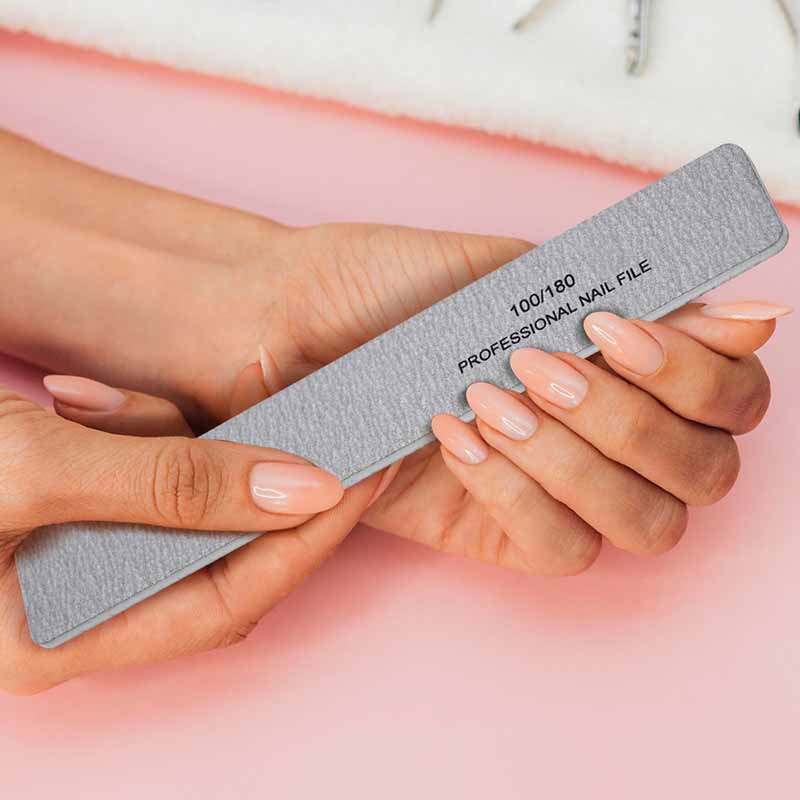
Nail polish remover, cuticle pusher, cuticle nipper, nail file, buffer, base coat, your chosen wedding colour, top coat, quick‑dry drops (optional), and cotton pads.
Step‑by‑Step Application
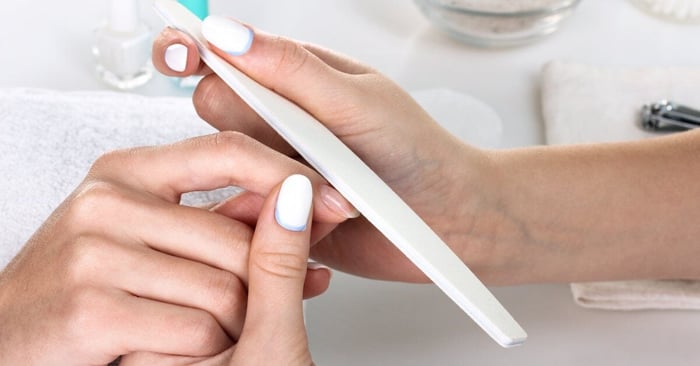
1. Prep thoroughly. Gently push back cuticles, shape nails with a fine‑grit file, and lightly buff the nail surface to remove any ridges.
2. Apply base coat. A thin, even layer protects nails from staining and helps polish adhere.
3. Apply colour. Two to three thin coats are better than one thick coat. For sheer “no‑mani” looks, sheer pink finishes are very forgiving and easy to layer.
4. Seal with top coat. A generous, high‑quality top coat adds shine, prevents chipping, and dramatically extends wear.
5. Let dry fully. Use quick‑dry drops if needed, and avoid using your hands for at least an hour.
Pro Longevity Tips for Your Bridal Manicure
- Timing matters most. For gel manicures, book your appointment two to three days before the wedding so the polish has time to fully set. For regular polish, the day before minimises the chance of chipping or smudging.
- Choose gel polish for durability. Gel polish is the longest‑lasting option, staying chip‑free for two to three weeks under photography and venue lighting.
- Massage cuticle oil daily. This keeps cuticles soft, prevents hangnails, and maintains a clean edge around your polish.
- Never use your nails as tools. The simplest habit for preserving your manicure is treating your nails as jewels rather than multi‑purpose instruments.
- Wear gloves when cleaning or washing dishes. Water and household chemicals are the biggest threats to your bridal manicure.
The Bottom Line
Your wedding manicure is more than nail polish—it’s a meaningful detail that will appear in cherished photographs for years to come. Whether you choose the sheer elegance of a “no‑mani mani,” the timeless charm of a modern French tip, or the subtle luxury of pearl accents, the perfect bridal manicure is the one that makes you feel confident and authentically you.
With proper planning, consistent strength‑building, and careful application, your nails will be flawless for the ceremony, the reception, and every close‑up moment in between.
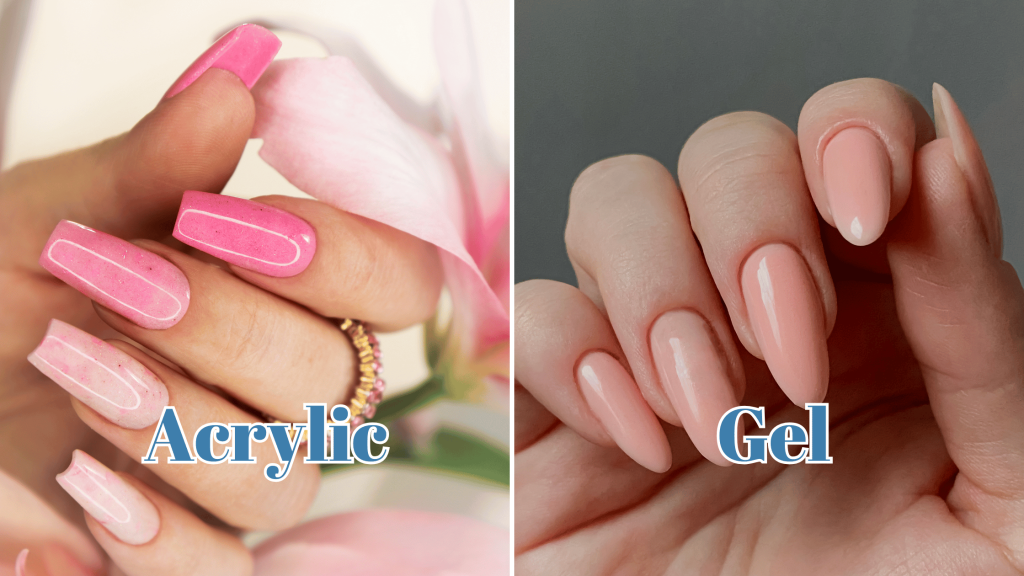
Read also: Gel vs. Acrylic Manicures: Which Is Right For You?
One thought on “Wedding Nail Art 101: The Ultimate Bridal Manicure Guide”